
Set Up Your Firm Dashboard & Prepare for Filing with RRE Report
This guide is for the primary account administrator who sets up and manages the firm’s RRE Report account. The steps below walk you through initial setup, security settings, team access, and firm-level preferences. This process only needs to be completed once per organization. After setup, you can invite team members and manage access from within the platform.
Step 1: Sign Up for a Free RRE Report Firm Account
- Visit https://www.rrereport.com/signups/other, complete the form, and click Sign Up.
- This step only needs to be completed once per organization.
- The Primary Contact will receive an email invitation to complete account setup.
- If you’ve already registered, follow the steps below to complete account setup.
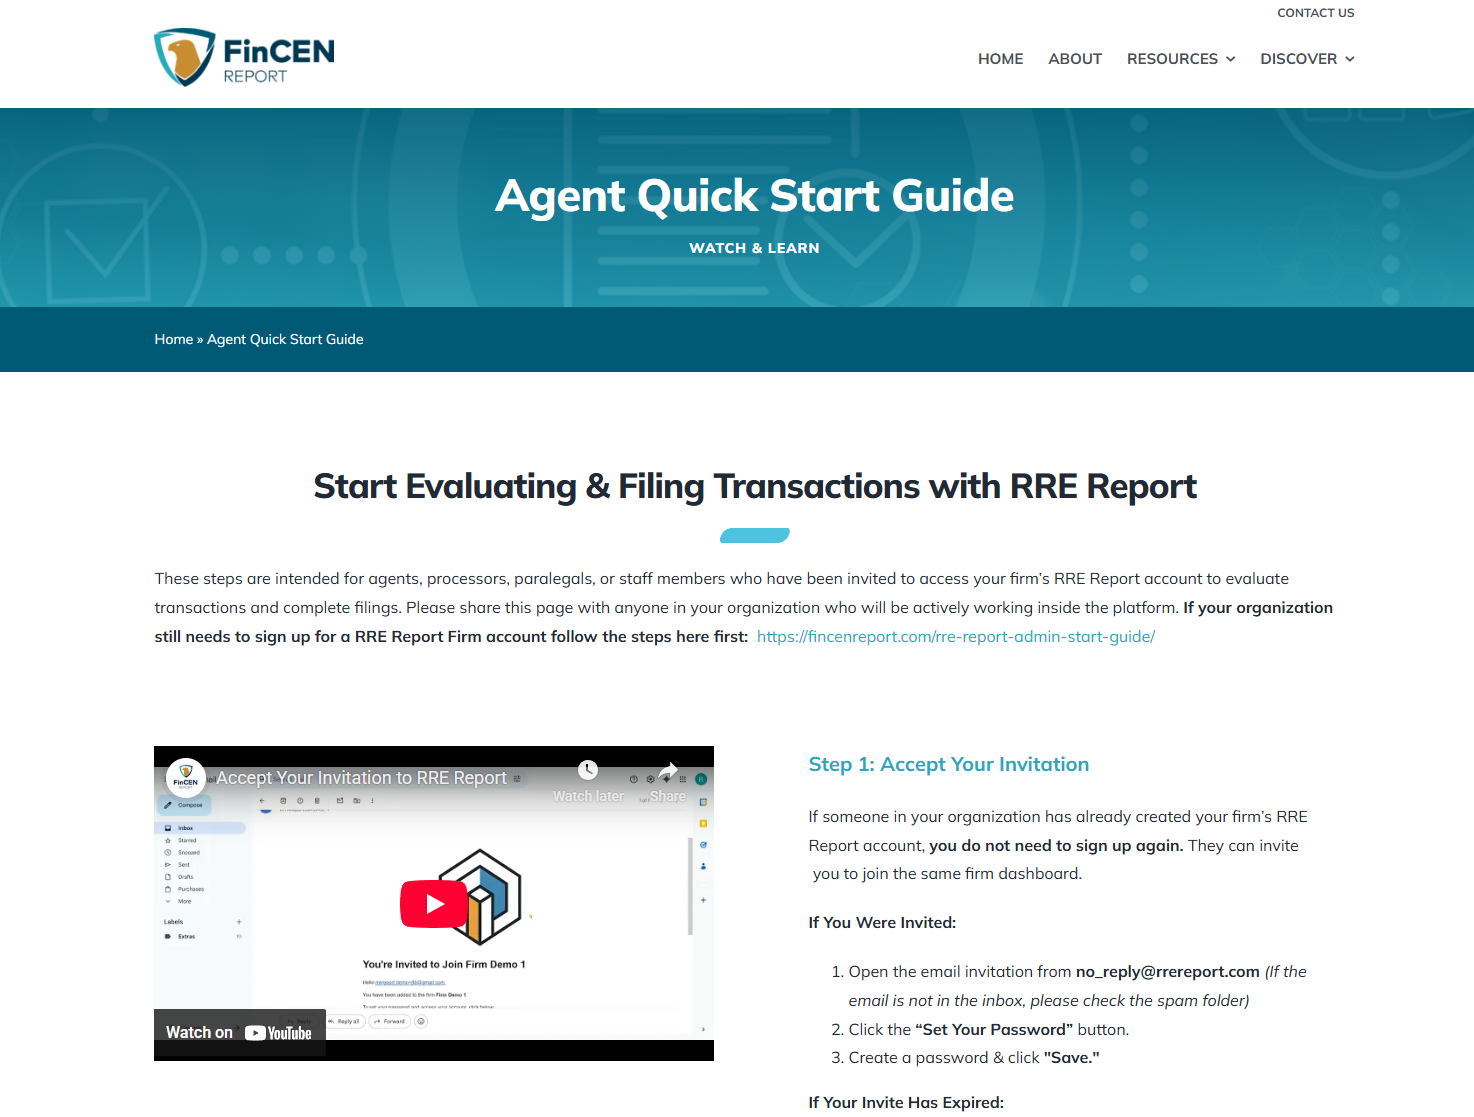
Step 2: Accept Your Invitation
- Open the email invitation from no_reply@rrereport.com (If the email is not in the inbox, please check the spam folder)
- Click the “Set Your Password” button.
- Create a password & click “Save.”
If Your Invite Has Expired:
- Go to: https://www.rrereport.com/users/sign_in
- Click “Forgot your password?”
- Follow the instructions to finish setting up your account.
Step 3: Enable Two-Factor Authentication*Optional
- Click on the yellow circle icon located in the top right corner of your account.
- Now select Profile from the drop-down menu.
- Enter all required information
- Then click on the box next to “Multi-factor authentication.”
- When done, click “Update.”
Step 4: Add Team Members
- Navigate to the Firm Members tab above your dashboard
- Click “New Member”
- Enter a valid email address for the team member & choose a permission.
- Then click Save to send an email invitation to the team member. (The member would then follow Step 2 to complete account setup.)
Permissions Key:
- Owner – Has access to edit and view everything in the account
- Member – Can only view & edit their own transactions
Step 5: Add Branches*Optional
If your firm has multiple offices or locations:
- Navigate to the Branches tab
- Click on “Add Branch”
- Enter the name of the branch
- Click on the box next to “Set as default branch” to make this branch the default for the account. *optional
- Then click “Save” to add the branch to the list.
Step 6: Add Default Reporting Person Information*Optional
- Navigate to the Settings tab
- Fill in all the required information under “Set Firms Default Reporting Person.”
- When complete, click Save.
- Entering data here will prefill the reporting person’s info for each report. This info can be edited per transaction if needed.
Step 7: Add a Default Payment Method
- Navigate to the Settings tab
- Now, click on the “Add Credit Card” button.
- Select Credit or Bank & provide the required information.
- When done, click “Save.”
Next Step: Share & Review the Agent Guide
Once you’ve invited team members to your firm account, please share the Agent Quick Start Guide with them.
It includes step-by-step instructions for accessing their account, evaluating transactions, and filing RRE Reports. You may also review it yourself for a complete overview of the reporting workflow.